free Worldwide shipping - try 30 days risk-free
How to Mod a Seiko for Unique Custom Watches

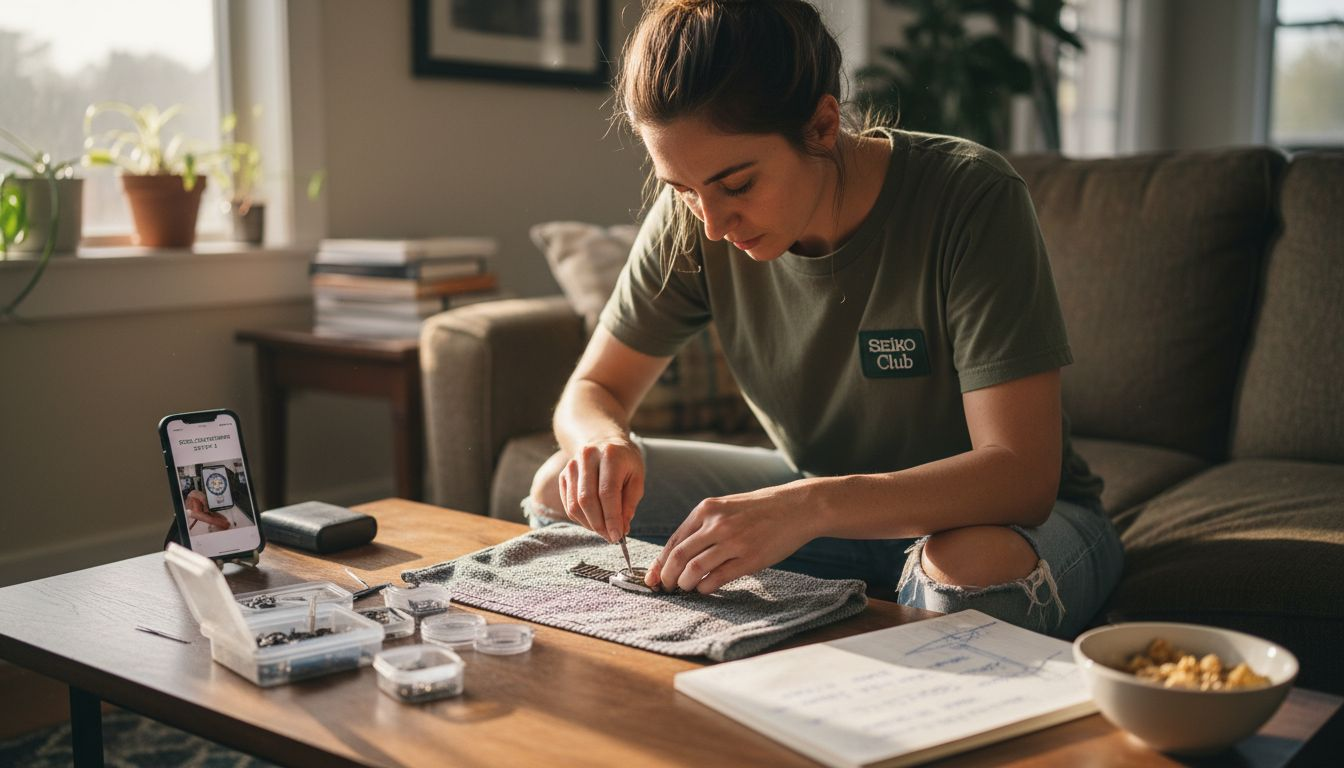
Every Seiko owner knows that customizing a watch begins long before you swap the dial or hands. The foundation lies in gathering the right tools and parts, which shapes every step of your journey to a truly personal timepiece. Whether you dream of an understated dress piece or a bold sports model, mastering these essential modding techniques lets you transform your Seiko into luxury-inspired art that reflects your unique style.
Table of Contents
- Step 1: Gather Essential Tools And Parts
- Step 2: Disassemble And Prepare The Seiko Base
- Step 3: Install Custom Mod Parts Carefully
- Step 4: Reassemble And Perform Quality Checks
Quick Summary
| Key Point | Explanation |
|---|---|
| 1. Gather essential tools first | A proper toolkit, including case openers and precision screwdrivers, is crucial for successful watch modifications. |
| 2. Disassemble carefully | Remove components slowly to avoid damaging parts; take time to clean and inspect the case before proceeding. |
| 3. Install new parts with precision | Proper alignment of components like the dial and hands is critical to avoid operational issues later on. |
| 4. Perform thorough quality checks | Ensure the watch functions smoothly by checking movement, hand alignment, and sealing components securely. |
| 5. Wait before wearing the mod | Allow the watch to sit for 24 hours post-assembly to detect any issues and ensure everything is functioning correctly. |
Step 1: Gather Essential Tools and Parts
Before you touch your Seiko, you need the right equipment. Building your toolkit properly determines how smoothly your modification project flows and directly impacts the quality of your finished watch.
Start by assessing what you absolutely cannot skip. A proper case opener (usually case knife or screw case back opener) removes the watch back safely without damage. You’ll need tweezers in several types: regular, reverse-action, and fine-tipped for handling small components like springs and seals.
Precision screwdrivers matter more than you might think. Seiko watches use specific screw sizes, so invest in quality micro-screwdrivers that won’t strip the screws. A loupe or magnifying glass becomes essential when working with tiny watch parts that your eyes simply cannot focus on clearly.
Here are the non-negotiable tools:
Here’s a quick overview of essential Seiko mod tools and their key purposes:
| Tool | Main Function | Impact on Build Quality |
|---|---|---|
| Case opener | Removes watch back safely | Prevents case damage |
| Tweezers (variety) | Handles tiny components | Reduces risk of loss |
| Precision screwdrivers | Removes and installs screws | Avoids stripped screws |
| Loupe/magnifier | Enhances visual clarity | Prevents mistakes |
| Case cushion/holder | Secures watch during work | Protects movement |
| Demagnetizer | Eliminates magnetic interference | Ensures accurate time |
| Spring bar tool | Removes/installs bracelet pins | Keeps bracelet secure |
- Case opener or case back removal tools
- Precision screwdriver set (1mm to 2.5mm sizes)
- Fine-tipped tweezers for hand assembly
- Loupe or 10x magnification glass
- Watch case cushion or movement holder
- Soft cloth and demagnetizer
- Spring bar removal tool
For the parts themselves, think about what transformation you want. Are you creating a dress watch or a sports piece? Your case, dial, hands, and bezel choices drive everything else. Following a Seiko mod checklist ensures you don’t overlook critical components like gaskets, crystals, and lume supplies.
Source your parts from reliable suppliers that specialize in watch modification components. Incompatible parts create frustration and cost more money fixing mistakes than buying quality pieces initially.
Quality tools make the difference between a satisfying build and a frustrating nightmare. Your hands will thank you.
Pro tip: Organize all your small parts in labeled compartments before you start—losing a single screw or gasket at the wrong moment derails your entire project and forces expensive re-ordering.
Step 2: Disassemble and Prepare the Seiko Base
Now comes the moment where your Seiko transforms from a finished watch into a blank canvas. Disassembly requires patience, focus, and respect for tiny components that cost money to replace.
Start by removing the case back using your case opener tool. Apply gentle, steady pressure rather than forcing it. Work slowly around the edges until the back releases cleanly. Place the case back immediately in a safe location away from your work surface.
Next, remove the movement carefully from the case. Most Seikos have the movement held in place by the stem and sometimes a small plastic ring. Gently pull the movement toward you while supporting it with your other hand. Never yank or twist forcefully.
Once the movement is free, set it aside on your cushion and focus on the case itself. You’ll need to clean and prepare the empty case for its transformation. Here’s what the preparation involves:
- Remove any remaining gaskets or old seals from the case back and crystal
- Clean the case interior with a soft, dry cloth to eliminate dust and debris
- Inspect the case for scratches or damage that might affect assembly later
- Check that all case threads are clean and undamaged
- Verify the crown and stem move smoothly without resistance
This preparation phase determines whether your finished mod looks professional or homemade. Understanding Seiko watch parts and their functions helps you recognize what stays and what gets replaced during your customization.
Set aside the original dial, hands, and chapter ring if you’re replacing them. These components won’t return to the case, so store them safely in case you ever want to restore the watch to original condition.
A clean case is the foundation of a quality mod. Dirt and debris trapped during assembly cause problems you’ll discover months later.
Pro tip: Photograph your disassembled watch from multiple angles before moving parts around—these images become invaluable reference guides when you’re reassembling everything and can’t quite remember how that tiny spring was oriented.
Step 3: Install Custom Mod Parts Carefully
This is where your vision becomes reality. Installing custom parts transforms your base Seiko into something uniquely yours, but precision matters at every stage.
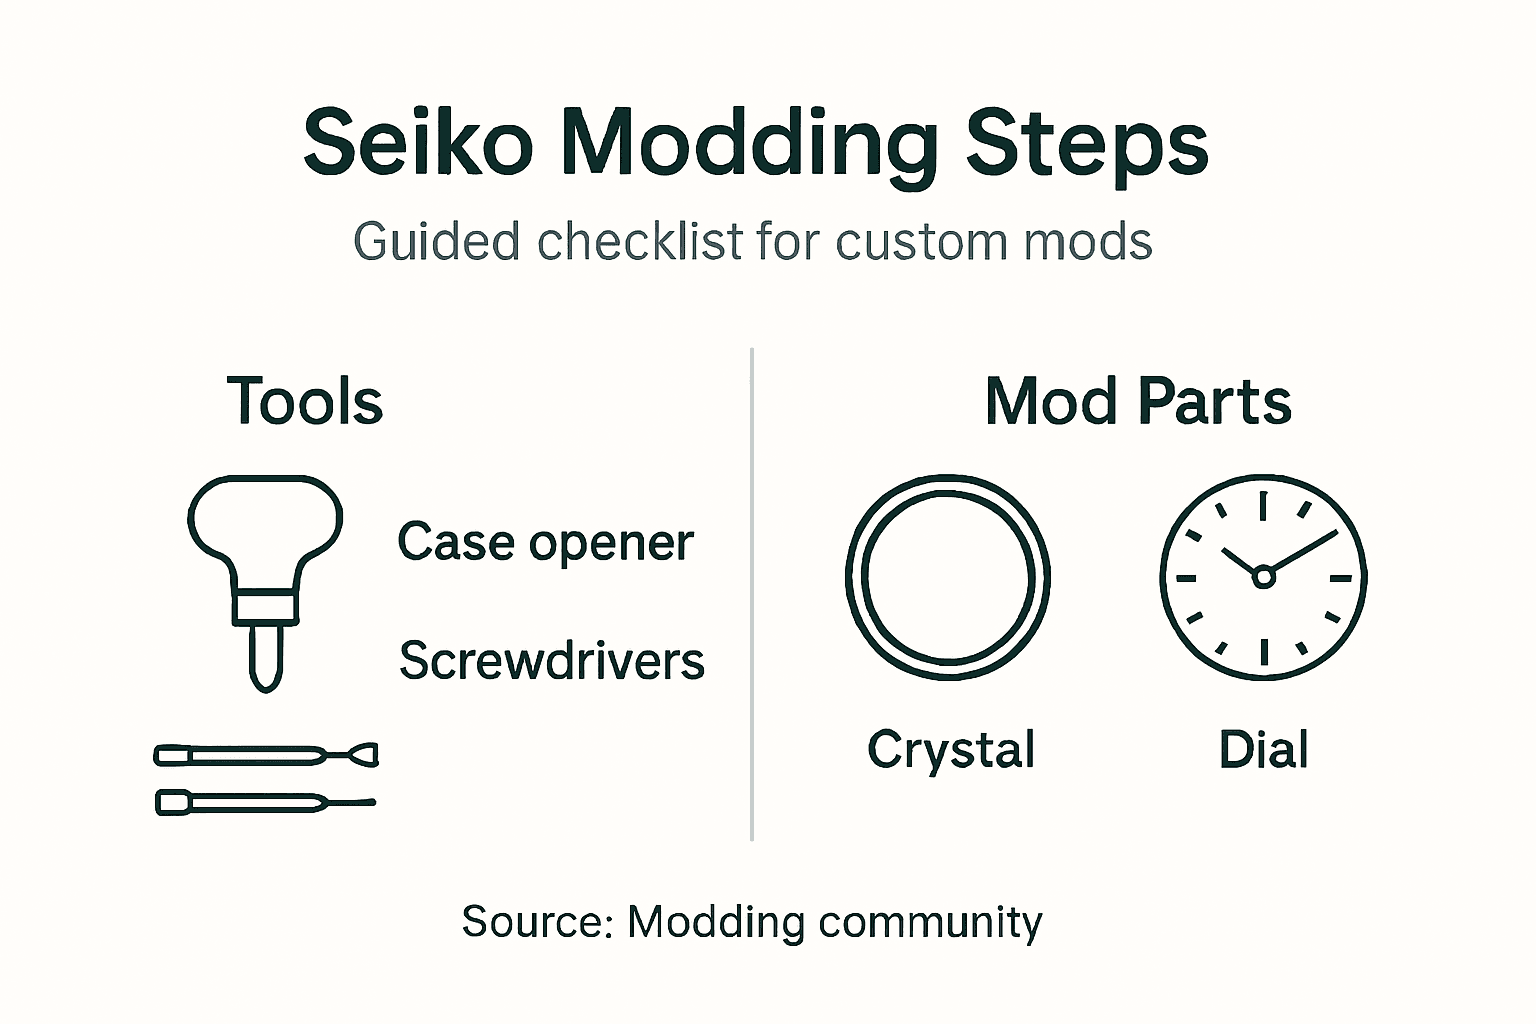
Start with the crystal installation. Most modern Seikos use press-fit crystals that require a crystal press tool or careful hand pressure. Clean the crystal seat thoroughly before installation to prevent dust from scratching underneath. Press the crystal straight down with even pressure until it seats completely and flush with the case.
Next, install the dial. Place it centered on the movement and ensure any dial feet align perfectly with the movement’s dial posts. Crooked dials create an amateur appearance, so take your time getting this right before moving forward.
Here’s the typical installation sequence to follow:
- Install the crystal first
- Place the dial on the movement with proper alignment
- Install the hour hand at 12 o’clock position
- Add the minute hand ensuring it moves freely
- Install the seconds hand last
- Test all hand movement for clearance against the dial
When working with hands and stems, remember they’re delicate. Press hands straight down using gentle, consistent pressure. Hands that go on crooked will bind against the dial, creating friction that damages your movement. If a hand doesn’t seat smoothly, remove it and try again rather than forcing it.
The essential Seiko modding techniques require patience during this phase. Rushing installation is where most amateur mods fail, creating binding issues or misalignment that becomes obvious the moment you wind the watch.
Install your bezel insert, bezel gasket, and bezel ring with the same careful approach. Each component has a proper orientation, and forcing parts that don’t align perfectly only damages them permanently.
Slow installation beats fast repair work. Components that don’t slide into place smoothly usually signal a problem.
Pro tip: Work in good lighting and use your loupe to verify hand clearance against the dial before declaring installation complete—catching binding issues now prevents weeks of frustration later.
Step 4: Reassemble and Perform Quality Checks
You’re in the final stretch now. Reassembly is the reverse of disassembly, but quality checks transform a completed mod into a trustworthy timepiece that won’t embarrass you on your wrist.
Start by installing the movement back into the case. Align the stem carefully with the crown tube and slide the movement straight in without forcing. The movement should settle smoothly into position. If you encounter resistance, stop and check alignment rather than pushing harder.
Next, prepare new gaskets for the case back. Old rubber deteriorates and loses its sealing ability, so fresh gaskets prevent water intrusion. Apply the gasket to the case back groove, ensuring it sits evenly all the way around without bunching or gaps.
Now comes the critical case back installation. Place the case back carefully and thread it clockwise by hand first to confirm alignment. Once hand-threaded, use your case opener tool to tighten it firmly but not excessively. Over-tightening strips the threads and damages the gasket.
After reassembly, your quality checks determine whether this mod succeeds or fails:
- Wind the watch by hand and verify smooth operation without grinding sounds
- Set the time and observe hand movement for any binding or hesitation
- Test the crown for proper function at all positions
- Check the bezel rotation to ensure smooth action
- Inspect all external seams for even gaps and alignment
- Listen for any unusual noises when shaking gently
Perform a complete quality assessment before considering your mod finished. Problems discovered now are simple fixes; problems discovered months later cost frustration and potentially expensive repairs.
Place the watch on a level surface and observe it from multiple angles. Does the dial sit perfectly centered? Do all hands align properly? These visual details separate amateur builds from professional-quality mods.
Here’s a summary of critical quality checks to perform before completing your mod:
| Quality Check | What to Look For | Why It Matters |
|---|---|---|
| Movement operation | No grinding or resistance | Ensures long-term reliability |
| Hand movement | Smooth, unobstructed action | Prevents future malfunctions |
| Bezel rotation | Even, smooth rotation | Maintains customization effect |
| Case back sealing | Proper gasket placement | Protects against water damage |
| Crown function | Easy winding and setting | Guarantees user comfort |
| Visual alignment | Centered dial and hands | Achieves professional finish |
A completed mod that passes all checks is one you’ll wear with genuine pride for years.
Pro tip: Set your finished mod aside for 24 hours before wearing it—this waiting period lets you spot any issues with fresh eyes, and it gives you confidence that everything truly works before the watch leaves your hands.
Elevate Your Custom Seiko Mod Journey with Expert Crafted Solutions
Modding a Seiko watch requires patience, precision, and the right parts to avoid common challenges like damaging delicate components or misalignments. If you are looking to skip the frustration of sourcing reliable parts or want to achieve a truly professional finish with ease, explore our extensive range of customizable watches and components designed specifically for Seiko mods. From carefully curated collections to intuitive build-your-own options, we help you turn your vision into a lasting reality.
Discover the freedom to design your perfect watch with the Seiko Mod Configurator - Build Your Own Custom Seiko Mod Watch - Ottoman Prieur. Whether you prefer the sporty elegance of the Seiko Mod Aquanaut - Sporty, Sleek, and Exceptionally Unique - Ottoman Prieur or the vintage precision of the Seiko Mod Santos – Vintage Flair Meets Modern Precision - Ottoman Prieur, our collections empower enthusiasts to craft personalized timepieces with confidence.

Unlock effortless customization backed by expert craftsmanship and accessories like toolkits and sealing gaskets essential for quality mods. Visit https://ottomanprieur.com today and take the next step toward owning a unique custom Seiko watch that reflects your style and passion. Do not settle for ordinary when you can wear extraordinary.
Frequently Asked Questions
What tools do I need to mod a Seiko watch?
To mod a Seiko watch, you will need essential tools including a case opener, precision screwdrivers, fine-tipped tweezers, and a loupe or magnifying glass. Start by gathering these tools to ensure a smooth modification process and avoid damaging any components.
How do I disassemble a Seiko watch for modification?
To disassemble a Seiko watch, first remove the case back using a case opener, then carefully pull the movement out of the case while supporting it. Proceed slowly and ensure all parts are stored safely to prevent losing any small components.
What is the order of installation for custom mod parts?
The typical installation order for custom mod parts is to start with the crystal, followed by the dial, then the hour, minute, and seconds hands. This sequence helps ensure that the hands are installed correctly and function without interfering with each other.
How can I check the quality of my mod before wearing it?
To check the quality of your mod, verify that the movement operates smoothly, the hands move freely, and all parts are aligned properly. Conduct these checks after reassembly, and consider setting the watch aside for 24 hours to ensure everything functions correctly before wearing it.
How do I ensure my Seiko mod is waterproof?
To ensure your Seiko mod is waterproof, replace old gaskets with new ones before sealing the case back. Confirm that the gaskets sit evenly and check for any gaps to prevent water intrusion, thereby maintaining the watch’s integrity.
What should I do if a component doesn’t fit properly during installation?
If a component doesn’t fit properly during installation, stop and assess the alignment rather than forcing it. Check the orientation and try to reseat the part gently to avoid any permanent damage.