Envío gratuito a todo el mundo: pruébalo durante 30 días sin compromiso.
How to Install Seiko Sapphire Crystal Step by Step

Upgrading a Seiko with a sapphire crystal is a project that sparks excitement for both DIY watch modifiers and enthusiasts seeking a luxurious touch. The right tools and careful steps make all the difference in protecting your watch’s integrity and achieving a professional finish. This guide brings together expert recommendations on specialized equipment and methodical procedures, offering clear instructions to help you boost durability and style without sacrificing performance.
Table of Contents
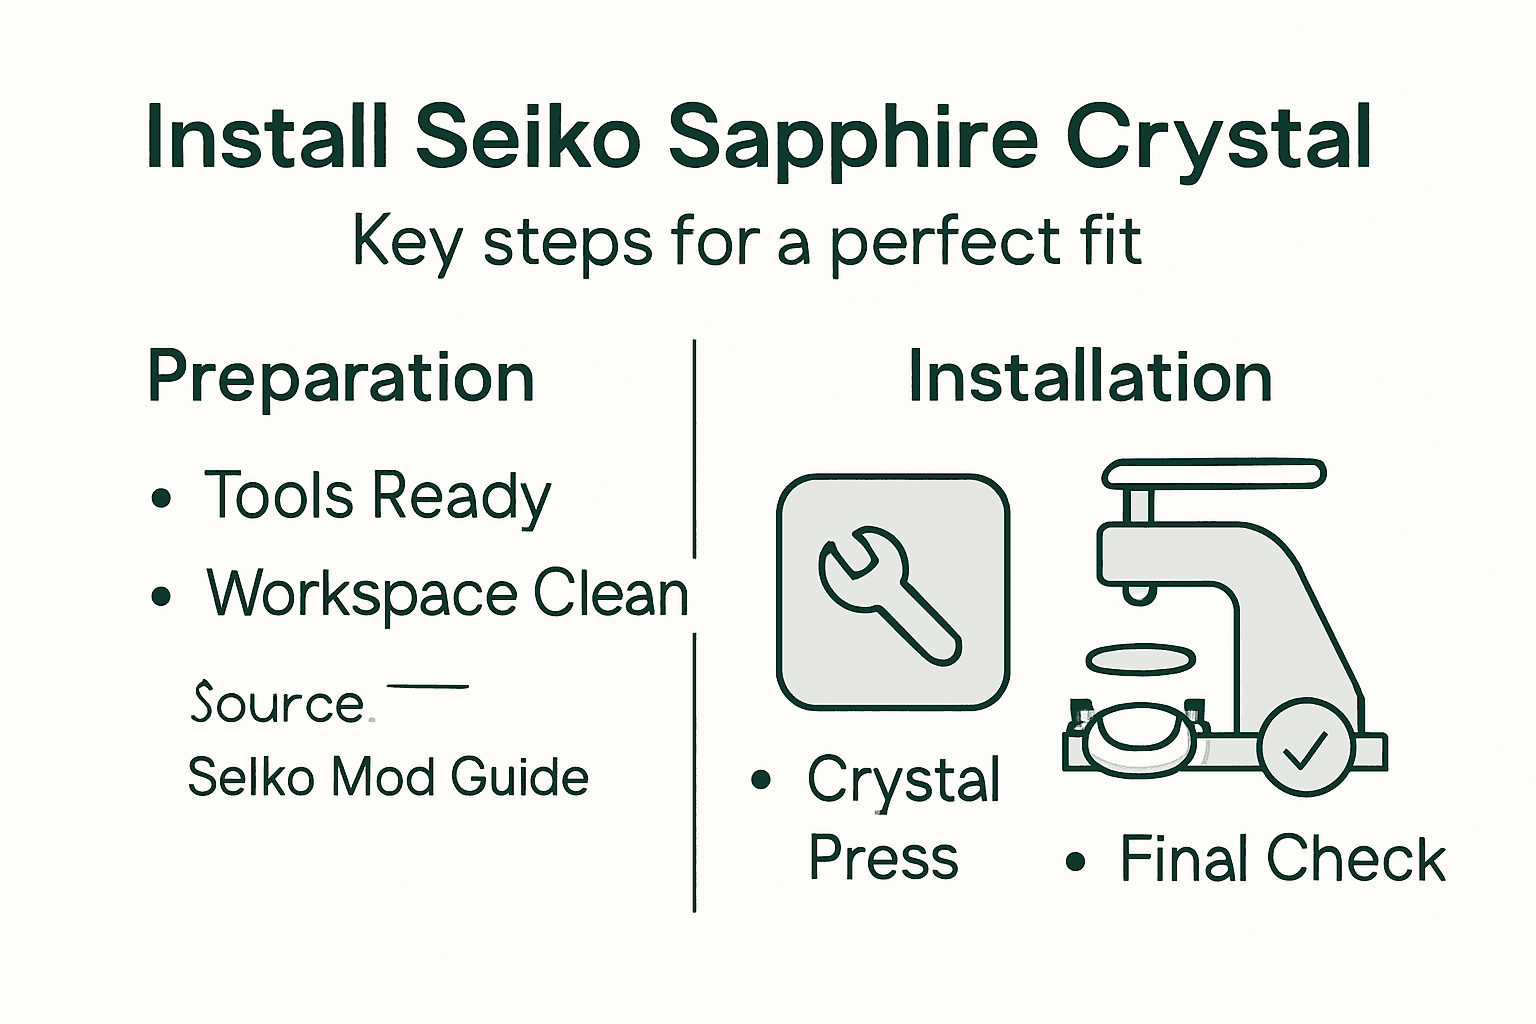
- Step 1: Gather Necessary Tools And Materials
- Step 2: Remove The Watch Movement And Bezel
- Step 3: Extract The Existing Crystal Safely
- Step 4: Install The New Sapphire Crystal
- Step 5: Reassemble And Inspect Your Watch
Quick Summary
| Key Point | Explanation |
|---|---|
| 1. Gather essential tools | Collect specialized tools like a crystal press, tweezers, and gloves to ensure a safe installation. |
| 2. Disassemble carefully | Methodically remove the movement and bezel while protecting small components to avoid damage or loss. |
| 3. Extract crystal with caution | Use appropriate tools and apply gentle pressure when removing the old crystal to prevent cracks. |
| 4. Install sapphire properly | Fit the new sapphire crystal by ensuring alignment and sealing; perform a dry test fit first to confirm. |
| 5. Thoroughly inspect after reassembly | After reassembling the watch, check for functionality and sealing to ensure everything operates correctly and securely. |
Step 1: Gather necessary tools and materials
Before diving into your Seiko sapphire crystal installation, you’ll need a precise set of specialized tools and materials to ensure a clean and successful modification. Proper preparation prevents potential damage and guarantees a professional result.
To get started, you’ll want to collect the essential equipment recommended by professional watch modifiers. Here are the key tools you’ll need:
- Crystal press for secure and even crystal installation
- Soft microfiber work cloth to prevent scratching surfaces
- Fine-tipped tweezers with non-abrasive tips
- Case opening knife or case back removal tool
- Protective latex or nitrile gloves
- High-precision digital caliper for accurate measurements
- Adhesive specifically designed for watch crystal application
When selecting your tools, focus on quality and precision. Watch crystal replacement requires specialized tools that protect both the watch case and delicate movement. Professional-grade tools might seem expensive upfront, but they prevent costly mistakes.
Compare the roles of specialized tools during the process:
| Tool Type | Primary Role | Risk if Omitted |
|---|---|---|
| Crystal Press | Evenly seats crystal | Uneven fit or cracks |
| Digital Caliper | Measures dimensions accurately | Poor fit or seal |
| Latex/Nitrile Gloves | Prevent contamination | Fingerprints or moisture |
| Case Knife/Opener | Safe case access | Scratched or bent case |
Investing in the right tools is crucial for a successful watch crystal modification.
Ensure your workspace is clean, well-lit, and has a stable surface where you can carefully work without interruptions. Organize your tools within easy reach before beginning the installation process.
Pro tip: Always purchase tools from reputable watchmaking suppliers to guarantee precision and compatibility with your specific Seiko watch model.
Step 2: Remove the watch movement and bezel
Removing the watch movement and bezel requires precision and careful handling to prevent damage to your Seiko watch. This step is crucial for preparing the watch for your sapphire crystal installation.
To begin, you’ll need to carefully disassemble the watch. Remove the case back using specialized tools with a methodical approach. Follow these key steps:
- Use a case back removal tool to gently unscrew or pry off the case back
- Protect the movement by placing a soft cloth underneath
- Carefully remove the crown by pressing the retaining mechanism
- Tip the movement out of the case with gentle, controlled motion
- Set aside the movement in a safe, clean area
When removing the bezel, exercise extreme caution. Use a sharp pocketknife or specialized tool to gently pry it off, being mindful of small components like ratcheting balls that can easily fall or get lost.
Patience and gentle handling are your best tools during watch disassembly.
Work in a well-lit, clean workspace with a soft surface to catch any tiny parts. Keep your tools organized and within easy reach to minimize the risk of losing small components.
Pro tip: Take clear, organized photos of each disassembly step to help you remember the exact positioning of components during reassembly.
Step 3: Extract the existing crystal safely
Removing the existing crystal from your Seiko watch requires delicate handling and precision to prevent damaging the watch case or surrounding components. This critical step sets the foundation for a successful sapphire crystal installation.
To safely extract the existing crystal, you’ll need specialized tools and a methodical approach. Follow these strategic steps:
- Prepare a clean workspace with soft, non-scratching surfaces
- Use crystal lifting tools designed specifically for watch repair
- Wear clean, lint-free gloves to prevent fingerprint contamination
- Select appropriate pressure tools matching your specific watch model
- Work under bright, direct lighting to see fine details
Position your crystal press or lifting tool carefully around the crystal’s perimeter. Apply gentle, even pressure to gradually release the crystal from its mounting. Avoid sudden movements or excessive force that could crack the existing crystal or damage the watch case.
Precision and patience are your most important tools during crystal extraction.
If the crystal appears stubborn, consider using specialized crystal removal solutions that can help loosen the existing adhesive without causing mechanical stress to the watch case.
Pro tip: Always keep a small container nearby to immediately store extracted components and prevent losing tiny watch parts during the modification process.
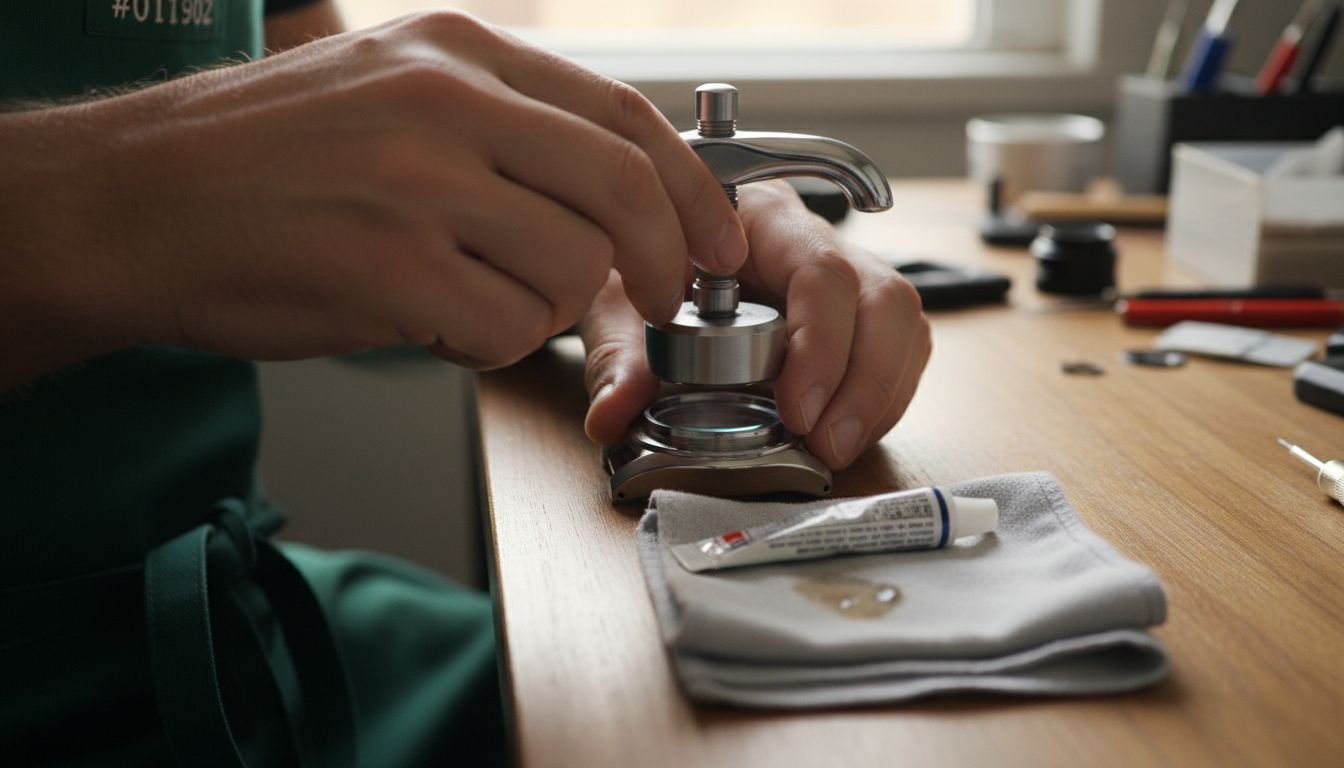
Step 4: Install the new sapphire crystal
Installing a new sapphire crystal is a precise process that requires patience and careful technique. Your goal is to create a perfect seal that ensures water resistance and a flawless aesthetic for your Seiko watch.
Fitting the sapphire crystal requires careful technique with several critical preparation steps:
- Clean the gasket thoroughly before installation
- Apply a thin layer of silicone grease to ensure proper sealing
- Inspect the crystal for any manufacturing imperfections
- Verify crystal orientation before pressing
- Use a crystal press with appropriate sizing
Begin by carefully positioning the sapphire crystal into the watch case. Align the crystal precisely and use your crystal press to apply gentle, even pressure. Ensure the gasket remains undamaged and properly positioned during installation.
Precision during crystal installation determines your watch’s water resistance and overall performance.
As you press the crystal, maintain consistent pressure and check alignment from multiple angles. The crystal should sit perfectly flush with the watch case, with no visible gaps or misalignment.
Pro tip: Always perform a dry test fit before applying any adhesive to confirm the crystal’s perfect alignment and fit.
Step 5: Reassemble and inspect your watch
With your new sapphire crystal installed, the final stage involves carefully reassembling your Seiko watch and conducting a thorough quality inspection to ensure everything functions perfectly. Proper reassembly ensures watch performance and integrity.
Follow these critical reassembly steps with precision:
- Gently reinsert the watch movement into the case
- Align movement pins carefully
- Replace and tighten case screws evenly
- Check crown and stem alignment
- Test watch functionality before final sealing
During reassembly, pay close attention to component positioning and gentle handling. Ensure each part sits correctly without excessive force. Apply a minimal amount of silicone grease to gasket areas to maintain water resistance and smooth movement.
Precision during reassembly determines your watch’s long-term performance and reliability.
After reassembly, conduct a comprehensive inspection. Verify the crystal sits flush, the case back seals correctly, and the watch operates smoothly. Test time accuracy, crown functionality, and ensure no dust or moisture has entered during the modification.
Pro tip: Use a soft, lint-free cloth to perform a final exterior wipe-down, removing any fingerprints or residual oils from your modification process.
Here’s a quick summary of each stage in the sapphire crystal installation process:
| Step | Core Objective | Common Challenge | Key Success Factor |
|---|---|---|---|
| 1: Gather Tools | Prepare precise tools and workspace | Using low-quality tools | Using professional-grade equipment |
| 2: Remove Movement & Bezel | Disassemble without damage | Losing small parts | Taking step-by-step photos |
| 3: Extract Crystal | Safely remove old crystal | Cracking case or crystal | Applying gentle, even pressure |
| 4: Install Sapphire | Fit and seal new crystal | Misalignment or gasket damage | Performing a test fit first |
| 5: Reassemble & Inspect | Restore and verify operation | Dust or water leakage | Careful inspection post-assembly |
Elevate Your Seiko Watch with Expert Modifications and Sapphire Upgrades
Struggling with the delicate steps of installing a sapphire crystal on your Seiko watch can be frustrating. Precision and the right tools are essential to avoid risks like gasket damage or misalignment. If you want to bypass common challenges like safely extracting the old crystal or ensuring a perfect fit without cracking the case, explore expertly crafted Seiko mods designed for flawless assembly and enhanced durability. Discover collections inspired by iconic timepieces such as the Seiko Mod Royal Oak that come preassembled and ready to impress.

Don’t let the complexity of watch modification hold you back. Experience the passion for superior craftsmanship with customizable watches that guarantee water resistance and scratch-proof sapphire crystals straight out of the box. Visit Ottoman Prieur today and take the first step to owning a truly unique Seiko mod or customize your own with our configurator. For diverse styles, also explore the Seiko Mod Submariner and Seiko Mod Datejust collections. Your perfect watch upgrade is just a click away.
Frequently Asked Questions
What tools do I need to install a Seiko sapphire crystal?
To install a Seiko sapphire crystal, you will need a crystal press, fine-tipped tweezers, a case opening tool, and adhesive designed for watch crystals. Gather all these tools before starting to ensure a smooth installation process.
How do I remove the existing crystal from my Seiko watch?
To remove the existing crystal, carefully use a crystal lifting tool or a case knife to apply gentle pressure around the crystal’s perimeter. Always proceed slowly to avoid cracking the case or damaging nearby components.
What steps should I follow to install the new sapphire crystal?
Begin by cleaning the gasket thoroughly and applying a thin layer of silicone grease. Then, align the sapphire crystal carefully into the case and use a crystal press to apply even pressure until it is securely seated.
How can I ensure my Seiko watch remains water-resistant after installing the sapphire crystal?
To maintain water resistance, make sure the gasket is clean and properly lubricated with silicone grease during installation. Verify that the crystal is flush with the case and double-check for any gaps before sealing the case back.
What should I do if the crystal doesn’t fit properly during installation?
If the crystal doesn’t fit correctly, first perform a dry test fit to confirm alignment. If necessary, adjust the crystal or check the case dimensions again to ensure you are using the correct size before applying any adhesive.
How can I check if my watch is functioning well after reassembly?
After reassembling, test the watch’s functionality by checking the time accuracy and crown operation. Observe the watch for a few minutes to ensure there are no issues with the movement before finalizing the sealing of the case.